Author: Lisa Childs
Comments: 2
Category: Dairy Free Instant Pot Recipes
Published Date: June 29, 2019
Updated Date: January 12, 2023
This post may contain affiliate links, which means I earn a small commission if you purchase something I recommend - at no additional cost to you! Thank you for supporting this blog!
Instant Pot Corn on the Cob is the only way you’ll make these delicious summer staples! You can make corn on the cob in the husk, or shucked (peeled) in just a couple of minutes.
How to Pick Corn on the Cob
When I buy fresh corn on the cob at the store, this is what I look for:
- Fresh white and green husks
- No openings in the husk, exposing the corn kernels
- No black spots (mold)
- Slightly damp feeling (this meals the corn is fresh and not old and dry)
- No obvious bugs, mold, gashes, or soft spots
Sometimes the corn on the cob has silk popping out of the top which can get soggy. I prefer to find ears of corn that have as little of the silk popping out as possible, and definitely none that has mold or dirt in it.
How to Prepare Instant Pot Corn on the Cob
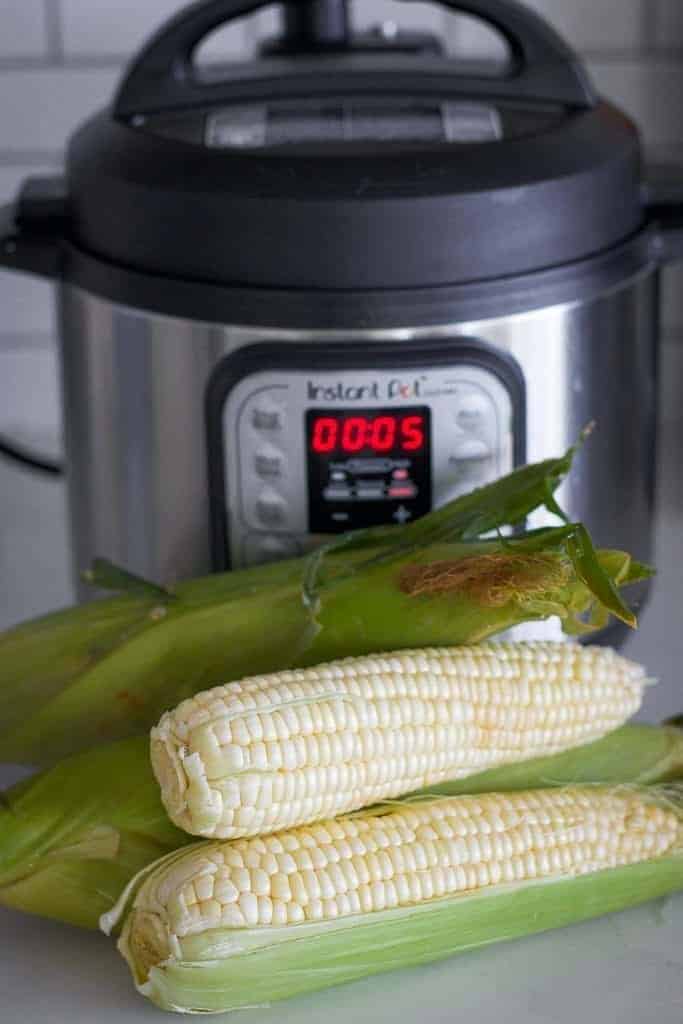
You can cook corn on the cob in your Instant Pot or pressure cooker with the husk on or off. You can fit more ears of corn into your pot when they are shucked (peeled).
Cooking corn on the cob with the husk on can infuse the corn with a little more flavor, and will keep the corn warm longer after it is removed from the Instant Pot.
Tip: If you leave the husk on and cut off the bottom of the corn cob, the corn on the cob will easily slide right out after pressure cooking, no shucking required!

Preparing Corn on the Cob with the Husk on
- Remove any soggy or damaged leaves
- Give the corn a quick rinse to ensure there aren’t any hidden critters
- Cut any large protrusions off the end
- Cut or pull off any silk at the top of the corn
- Break or cut the ears of corn in half, if desired
Preparing Shucked Corn on the Cob
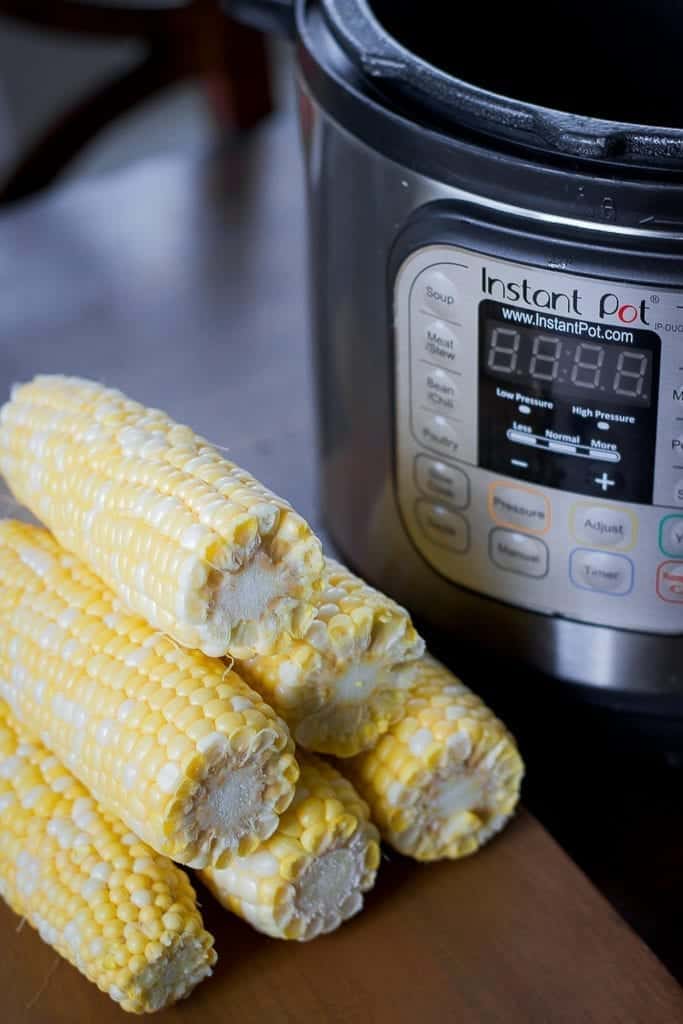
- Remove the leaves by pulling them firmly back and exposing the corn.
- I like pulling them all towards the base first, and then breaking the whole bottom base off to remove all of the husks at once.
- Remove all silk from the corn
- Break or cut the ears of corn in half, if desired
How to Make Instant Pot Corn on the Cob
- Add one cup of water to the Instant Pot or pressure cooker
- Place the metal trivet or rack in the pot
- Stack the corn so they fit in the pot best, or place them pointing up (if the lid can still fit)
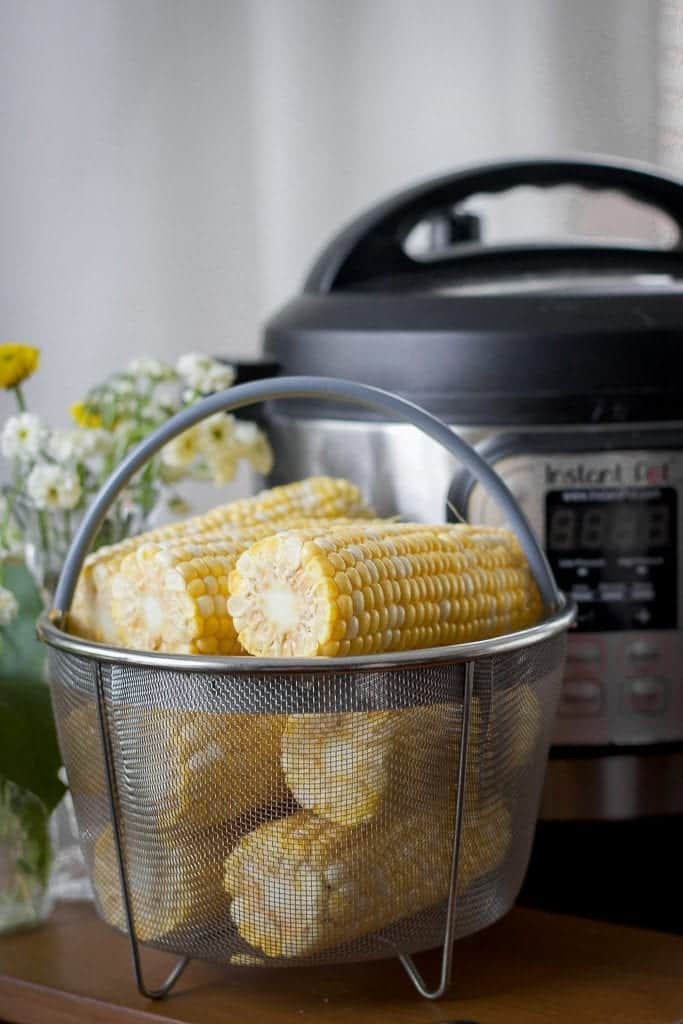
- Alternatively, stack the corn on the cob in a steamer basket
- Lock the lid, turn the knob to SEALING
- Cook on manual high pressure for 5 minutes
- When the Instant Pot has completed pressure cooking and the display shows L0:00, perform a quick release by turning the sealing knob to VENTING
- NOTE: If you leave corn on the cob in the Instant Pot to naturally release pressure for too long, it can overcook and have the flavor and texture of canned corn. Avoid this by doing a quick release, then turning off the “keep warm” mode on the Instant Pot. You can return the lid, and the residual heat will keep the corn warm without overcooking it.
- Remove the lid, and remove the corn cobs to a serving platter or
Corn on the Cob Dishes
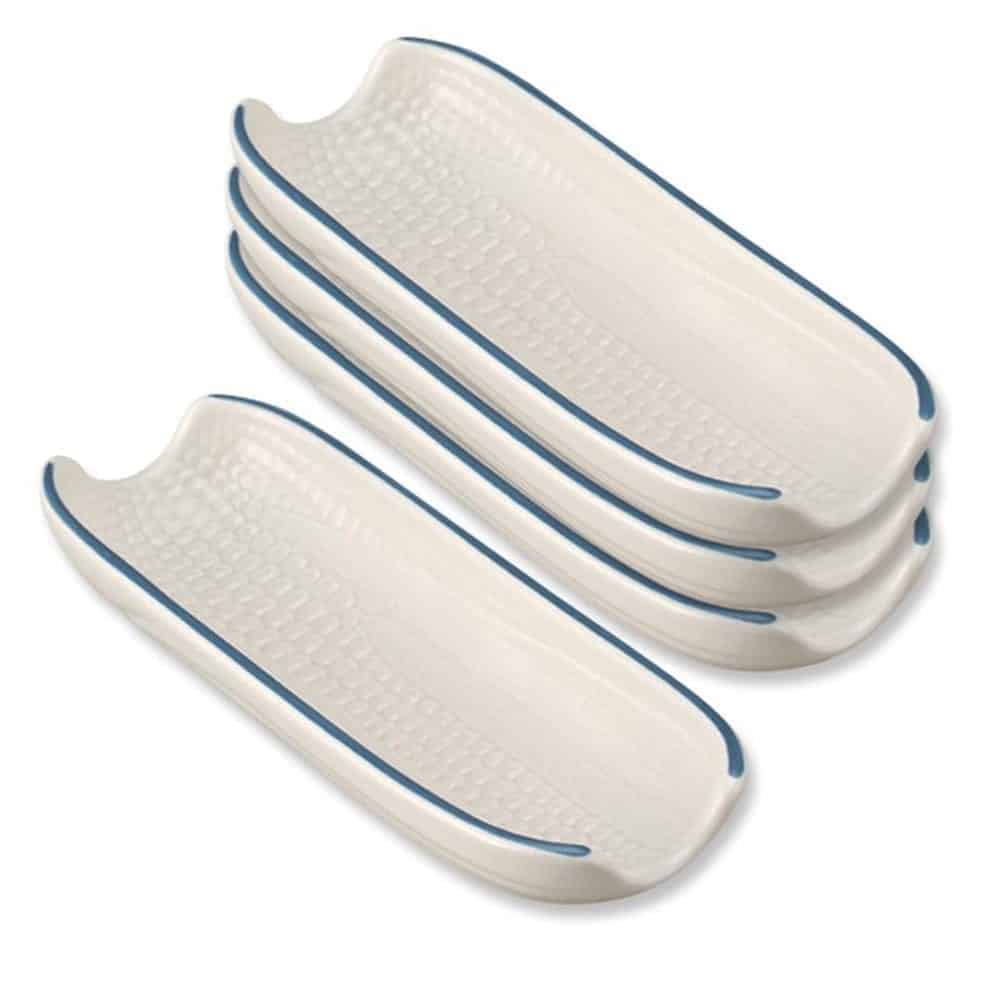
Corn on the Cob dishes are super handy to have, because they nestle the corn perfectly. No more corn on the cob rolling around on your plate!
We got these for our wedding 7 years ago, and we love using them to hold our corn on the cob! But seriously, HOW CUTE ARE THESE!?!?
Corn on the Cob Holders
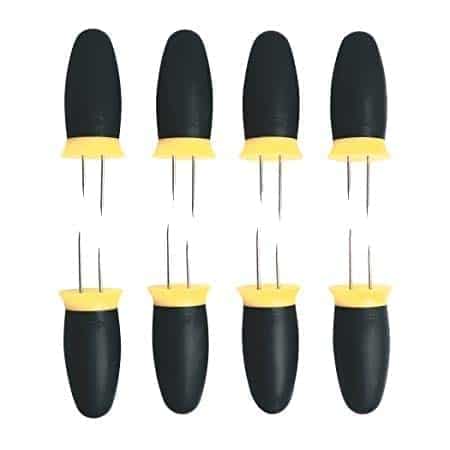
We also have these corn on the cob holders that are little spears that poke into either side of corn cob for easy holding. It helps keep your fingers clean and safe from hot corn on the cob!
Corn on the cob stripper
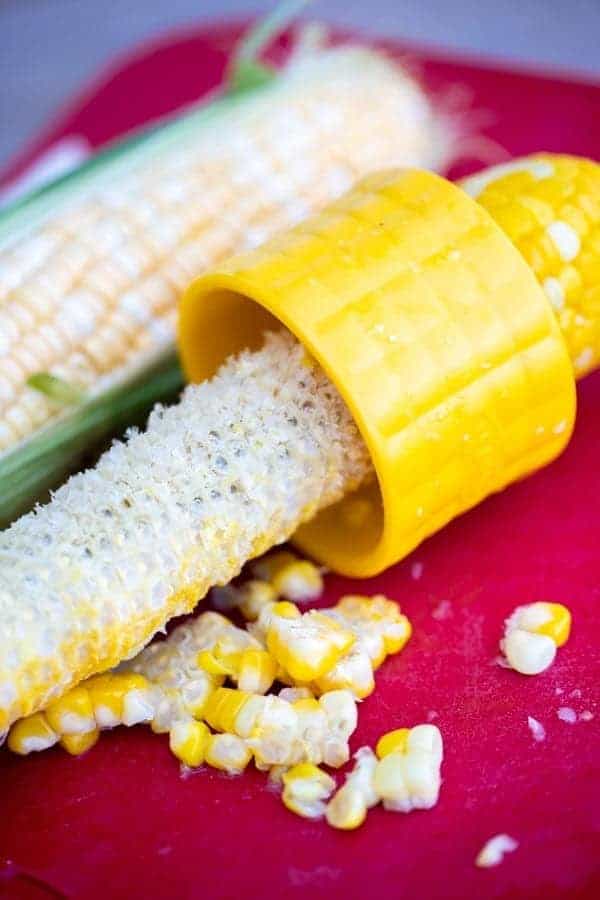
I use this corn on the cob stripper to easily take the kernels of corn off the cob- it’s AMAZING! I use it to make my black bean corn salsa that I made on KSL’s Studio 5.
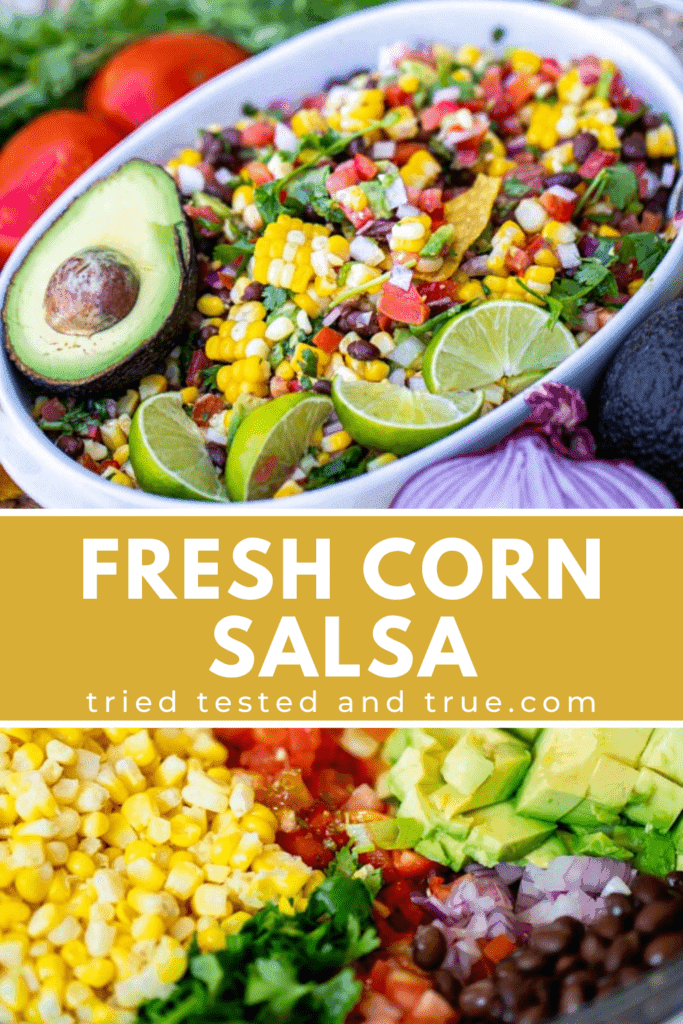
Instant Pot Corn on the Cob Seasoning
We’re really simple when it comes to seasoning our corn on the cob. We love using the BEST salt ever, pepper, and butter.
Here are a couple ideas of ways you can season corn on the cob:
- Use a compound butter by combining softened butter with citrus juice, cheese, fresh herbs, salt, and pepper
- Season with a premade butter like Chef Shamy butters
- Use a seasoning mix that you’d use on meats or in cooking for different flavors
Summer Foods and Instant Pot Vegetable Side Dishes

- Instant Pot Low Country Boil
- How to Easily CUT and DUMP a Watermelon into Cubes
- Kalua Pork – feeds a crowd!
- Instant Pot Ribs – featured by Sweet Baby Rays!
- Salt Potatoes – the BEST side dish!
- Strawberry BBQ Chicken Salad
- Instant Pot Chicken Drumsticks
- Pressure Cooker Spaghetti Squash + FAQ
- Instant Pot Carrots
- Instant Pot Broccoli + FAQ
- Instant Pot Artichokes
- Perfect Instant Pot Mashed Potatoes
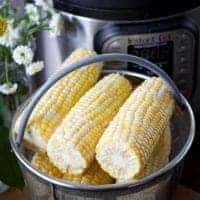
Instant Pot Corn on the Cob
INGREDIENTS
- 6 ears of fresh or frozen corn on the cob (or however many you want to make and can fit in the Instant Pot)
- 1 cup water
- butter, salt, pepper, seasoning to taste, if desired
INSTRUCTIONS
- Add one cup of water to the Instant Pot.
- Place the metal trivet or rack in the pot.
- Stack the corn so they fit in the pot best, or place them pointing up (if the lid can still fit.)
- Alternatively, stack the corn on the cob in a steamer basket.
- Lock the lid, turn the knob to Sealing.
- Cook on manual high pressure for 5 minutes.
- When the Instant Pot has completed pressure cooking and the display shows "L0:00", perform a quick release by turning the sealing knob to Venting.
- Remove the lid, and remove the corn cobs to a serving platter or corn on the cob dishes.







I love IP corn – it’s so juicy! But do you ever has issues with the corn shriveling up after it comes out of the IP and sits for a little bit? I’ve noticed it’s perfect when I take it out but the extra ears that aren’t eaten right away seem to shrivel and the kernels shrink up a bit. I do my for 4-5 minutes and quick release.
Author
Hi Dana! I think that the shriveling comes from residual cooking. I haven’t really experienced this too much myself but If you want to avoid this from happening, plunk your extra ears of corn in an ice bath to stop the cooking process immediately after you get them out. This will preserve the color as well! Good luck! – Lisa